Prepare Your Sourdough
- Pull Starter from the Fridge
- Discard Half
- Recommendation: Keep in separate mason jar if desired
- Feed Starter
- Using same ratio from Step 1 of Starter Recipe (¾ Cup Flour & ½ Cup Warm Water)
- Wait 4-6 Hours After Feeding
- Tip: You will want to prepare the dough when it’s at its peak, when it has doubled in size and starts to fall – Do float test to see! But after many uses, if it does not float, that’s okay, your sourdough will still turn out
Start Making Your Sourdough!
- Pull Out Your Scale. ZERO the Scale WITH the Bowl on the Scale. Add the below items to the bowl on the scale in this order:
- Don’t Forget: Zero the scale prior to adding each next ingredient
- 50-100g active starter
- 375-400g warm filtered water
- 500g bread flour
- 10g unrefined salt
- Don’t Forget: Zero the scale prior to adding each next ingredient
- Mix water, flour, starter and salt together until a very moist ball forms in the bowl
- You can use any utensils or your hands, whichever works best for you to combine well
- Cover the bowl with a towel
- Recommendation: I love using a tea towel as the fibers don’t stick to the dough and it looks pretty on the counter!
- Let it Rest on the Counter for 20-60 minutes
Stretch & Fold Your Sourdough
- Flour Surface
- Tension Hold or Stretch & Fold (optional)
- Advice: I usually stretch and fold it again if it seems to be too flat of a ball. If I bake a whole wheat sourdough, I don’t have to do this step at all, as the whole wheat dough stays very taught
- Dust Bowl with Flour
- Add dough seam side up in bowl with plastic wrap, lid, or tightly wrapped towel
- Place sourdough bowl in fridge for 1 to 24 hours
- longer for more sour and best breakdown and predigest gluten)
Prepare Dough for Cold Proofing
- Flour Surface
- Tension Hold or Stretch & Fold (optional)
- Advice: I usually stretch and fold it again if it seems to be too flat of a ball. If I bake a whole wheat sourdough, I don’t have to do this step at all, as the whole wheat dough stays very taught
- Dust Bowl with Flour
- Add dough seam side up in bowl with plastic wrap, lid, or tightly wrapped towel
- Place sourdough bowl in fridge for 1 to 24 hours
- longer for more sour and best breakdown and predigest gluten)
Time To Bake Your Sourdough!
- Preheat Oven to 500 degrees with Dutch Oven
- Score Bread
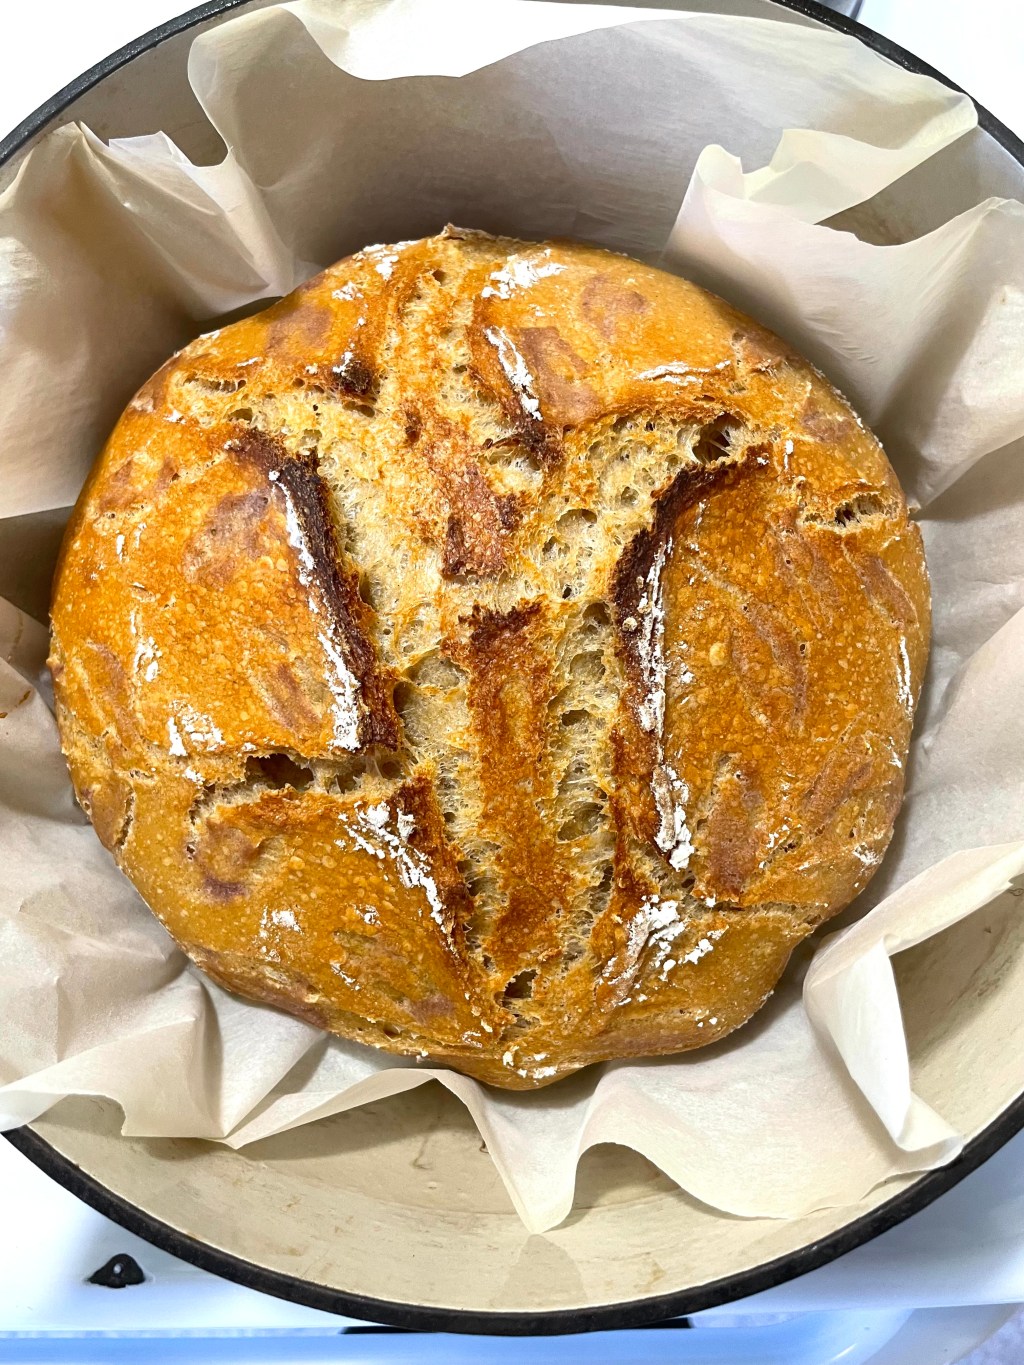
- Add Bread to Dutch Oven (with parchment paper layer underneath)
- Cover Dutch Oven
- Reduce Heat to 450
- Bake 20-30 minutes Covered (I bake 35 min covered)
- Uncover
- Bake Additional 20-35 minutes (I bake 10 minutes uncovered – I like the outside cooked lightly/golden, not brown)
- Let Cool at Least 1 hour Before Cutting
Equipment List
- Large Glass or Ceramic Mixing Bowl
- Dry & Liquid Measuring Cups
- Large Spoon
- Digital Scale
- 1 Large Wide Mouth Mason Jar
- Tip: My mason jar was too small so I often use my 2-Cup Pyrex Liquid Measuring Cup
- 1 Large Mason Jar for Discard in Fridge
- Potato Towel or Large Tea Towel
- Sharp knife to score (A paring knife works well)
- Dutch Oven with Lid
- Parchment Paper
- Flour for Starter (Whatever you have on hand! I enjoy using whole wheat)
- Flour for Sourdough (Flour of choice – I mix this up depending on who is eating it in our family)
- Bread Slicer (I do not have one of these, but it would be amazing to have one as the outside of the bread is so hard to cut)
- Optional
- Scoring Blade
- Banneton for Proofing
- Cooling Rack
- Wooden Spoon
- Sourdough Making Kit
No Fancy Tools Needed
Honestly, I see influencers all over social media selling sourdough making kits, convincing you to buy special tools to make sourdough. I also see a million and one recipes out there with videos, lengthy descriptions of how to be successful at every step in the sourdough making process. Disregard all of that. I truly don’t believe you need any fancy tools, you can use items you already have in your kitchen. You also don’t need to watch every tutorial video and read every blog on how to make sourdough. Simply follow along, use your instinct, and bake it! See what happens your first try. Make changes the next time if needed, & don’t overthink it!
Tips
Measuring Growth of Starter
Use a hair tie or rubber band to measure where your starter is before feeding for an easy way to gauge growth
Feed is happy when it has bubbles and has doubled in size
Stretch and Folds
Pulling with two hands the dough in one direction, then fold it back into the middle; repeating on all four sides of the dough
Float Test
Add a spoon full of bubbly starter to a cup of warm water and see if it floats indicating ready to use to bake. In winter months it gets difficult to get your starter happy and also your bread to rise because both of those like warm temps; Some have tried keeping the starter in the pantry or the oven and even placing the starter jar in a bowl of warm water to get it to rise.
I make sure my starter after making it floats, but my starter after being in the fridge for a while and after being fed/resting does not always float. This does not seem to make a difference in the success of the baked bread.
Keep Starter in the Fridge & Feed Once a Week
If you keep it on the counter you will need to feed it daily which can use a lot of flour. I recommend keeping it in the fridge, feeding it once a week, leave it on the counter after a feed and maybe feeding it a couple of times to add growth and then bake with it once it’s ready and store it in the fridge again after you have a fresh loaf of bread. I bake with mine a couple times a week, sometimes making multiple loaves at a time.
Dark gray liquid is fine on both the starter or the discard (it just means it is hungry; just remove the extra liquid and continue to use it as normal. The gray will go away once you feed it.)
Keep a jar in the fridge for the discard from each feeding; can make lots of great things like cookies, crackers pizza dough, cinnamon rolls, tortillas, waffles, brownies, burger buns, etc. with this
Parchment Paper is optional, although it does make it a lot easier to transfer and clean the pot, and keeps it from sticking

Leave a comment